
7 Tips for Choosing a Can Sealing Machine

Choosing a Can Sealing Machine is not just a matter of comparing prices or choosing the fastest model. The right equipment must suit your cans, lids, product, and daily production needs. A mismatch can lead to loose seams, damaged containers, or unnecessary downtime. Small details matter.

Before making a decision, check the can material, diameter, and height against the machine’s stated range. Ask how operators adjust the settings, and whether routine cleaning and parts replacement are straightforward. If possible, run sample cans through the machine. Examine the finished seams closely, and repeat the test at your normal operating speed. One good-looking can is not enough evidence.

This guide covers seven practical considerations, including sealing quality, production capacity, compatibility, ease of use, maintenance, safety features, and supplier support. Each factor can affect long-term performance, though not every business will weigh them equally. A small producer may value simple changeovers more than maximum speed. A busy line may need consistent output and accessible service support. Neither choice is automatically better.

Be cautious with broad performance claims. Ask for clear specifications, suitable test conditions, and examples relevant to your container format. Your actual product may behave differently from a demonstration sample. That is worth checking. A careful comparison can help you choose a machine that fits the work today, while leaving room for realistic growth.
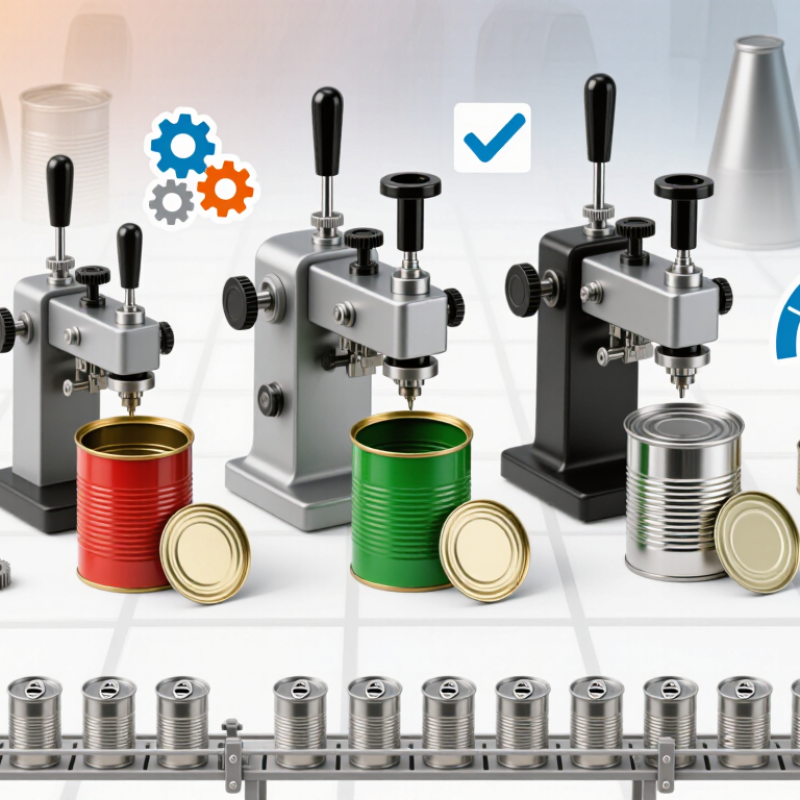
7 Tips for Choosing a Can Sealing Machine

Define Your Production Needs and Sealing Goals

Before comparing can sealing machines, define what your line must handle each day. Start with the can. Record its diameter, height, material, and lid type, then note how often sizes change. Estimate your normal output and peak demand, not just an ideal shift with no interruptions. A target of 40 cans per minute means little if your team needs frequent changeovers or manual checks. Small details matter. Include available floor space, operator experience, and the time you can allow for cleaning and setup.

Next, describe what a successful seal means for your product. Consider its fill level, viscosity, temperature, and sensitivity to oxygen or leaks. Set practical quality goals, such as consistent seams and a low rejection rate, and decide how staff will inspect samples during production. Ask suppliers to test your actual cans, ends, and product where possible. A demonstration with empty containers may not reveal issues that appear on a busy line. Record results at different speeds and during changeovers. Even a careful estimate can miss a daily bottleneck; revise your targets after observing a real production run.


Match the Machine to Your Can and Lid Specifications

A seamer must match the can body and end, not just the nominal volume. Record the body diameter, height, flange profile, and lid curl from actual samples. Two cans labeled with the same capacity can still need different tooling. Check that the chuck fits the end’s countersink and that the first and second operation rolls suit its curl. Small differences matter.

The scale of format choice is not trivial: Grand View Research estimated the global metal cans market at USD 137.1 billion in 2023, with a projected 4.7% compound annual growth rate through 2030. That market figure is not a machine-sizing rule, but it signals why format flexibility matters. Ask the supplier to run your exact cans and ends, then inspect seams with a teardown gauge. Compare seam thickness, height, and overlap against your container supplier’s specifications. Measure twice. A sample run can expose a mismatch that a catalog table misses. I have seen teams focus on speed and overlook a slight flange variation; the result was repeated adjustments and avoidable rejects. Check every format you plan to run, including less common sizes.

Compare Sealing Speed, Capacity, and Automation

A can sealer’s quoted speed is only useful when it matches your actual production rhythm. Check the rated cans per minute, then ask whether that rate applies to your can size and lid type. A short demonstration with your own containers can reveal pauses that a brochure may not show. Count rejects and stoppages, too. Small details matter.

Capacity is more than the number of cans a machine can hold. Consider how often operators must reload lids, clear finished cans, or adjust guides during a shift. If batches vary in height or diameter, ask how long changeovers take and whether adjustments need tools. A fast machine can still become a bottleneck when it sits idle between runs.

Automation should fit the people and processes around the sealer. Automatic feeding and discharge may reduce repetitive handling, but sensors, controls, and maintenance add complexity. Ask operators to test the interface and practice clearing a simple jam. I would not trust the fastest setting alone; it may not reflect steady production. Compare output over a realistic run, including setup, cleaning, and minor interruptions. That trial may take longer, but it gives a more honest measure of capacity.

7 Tips for Choosing a Can Sealing Machine: Compare Speed, Capacity, and Automation

Indicative sealing-speed ranges by machine type (cans per minute). Use them for initial planning, not as guaranteed output: can size, product, changeovers, and operator workflow all affect actual throughput.

How to use this comparison: Match the speed range to your expected production volume, then verify supported can sizes and hourly capacity with a timed production test. Higher automation can reduce manual handling, but also consider changeover time, cleaning, maintenance, and the space available for the line.

Evaluate Seal Quality, Safety, and Compliance

A sound can seam is the machine’s most important promise. Ask for seam-teardown results across your actual can sizes and materials, not just a demonstration on one ideal sample. Check overlap, tightness, and seam thickness against the container maker’s specifications. Then repeat tests after changeovers and routine adjustments. Small variations matter. The U.S. FDA’s 21 CFR 113.60 sets container-closure examination requirements for applicable low-acid canned foods; confirm which rules apply to your product and process.

Tip 1: Request documented seam checks at startup and during production.
Tip 2: Test filled cans, since product residue near the flange can affect sealing.
Tip 3: Keep sample cans and inspection records. A clean seam is reassuring, but it is not proof by itself.

Safety deserves equal scrutiny. The U.S. Bureau of Labor Statistics reported 2.6 million nonfatal workplace injuries and illnesses in private industry in 2023. That figure is not specific to canning equipment, but it underscores why guards, accessible emergency stops, and lockout procedures deserve practical review. Ask operators to demonstrate cleaning and jam-clearing steps with the machine safely stopped. Watch for awkward reaches around the chuck or seaming rolls. I would also revisit the checklist after installation; real work areas often expose gaps that a factory-floor demonstration misses.

Review Total Cost, Maintenance, and Supplier Support

A can sealing machine’s purchase price is only the visible part of its cost. Add installation, operator training, change parts, utilities, and expected downtime before comparing quotes. Ask how many cans per minute the machine can sustain with your actual can sizes and products, not just its advertised maximum. A line that runs slower than planned can make a low price expensive.

Maintenance costs deserve a closer look. Request a schedule showing routine checks, lubrication points, wear parts, and recommended replacement intervals. Ask whether operators can handle basic adjustments with common tools, and price a starter set of spare parts. Keep a simple log of stoppages and repairs; even a spreadsheet helps. It may not capture every hidden cost, though. That is worth revisiting after several months of production.

Supplier support can affect output as much as machine design. Confirm response hours, remote troubleshooting options, technician availability, and typical parts lead times in writing. Ask for practical references from facilities with similar production volumes. A clear support plan matters. Before signing, test the machine with your containers and lids, and clarify who pays for travel or follow-up visits. Those details are easy to overlook when a demonstration goes smoothly.

Go to Top